IVT L-2021 from 1996\1998
ITV, this is the brand of this CRT televison set. Could this be an Apple Product? A big "NO", by far! This is one of those rebranded televisions, which is obviously a cheap quality tv. Even so it has relatively nice and big (?) screen but it was completly dead. When plugged in you could only hear a short beeping coming from the switching power supply. Something was quite obviously shorted on the secondary side of the circuitry of the tv. Time to take a look.
Needless to say that there was a dusty mess inside as always with CRT sets. Ok it was not that bad but a cleaning job was on its way..
I removed the whole chassis from the cabinet leaving behind only the speakers and the CRT itself.
Having the chassis freely standing on my bench, it was time to clean the dust and to inspect it for possible visual problems.
A burned resistor, although this wasn't the only one in this condition, they were still within value, but replacement was required and on its way.
A cracked polyester cap. Actually one of the leads separated completely right after i bent the capacitor just a tiny bit towards the flyback transfomer. This one had to go as well.
A really bad looking electrolytic. This tells me that this capacitor has been heating for a while. The plastic shell shrunk and broke due to the heat coming from the heatsink nearby. Actually nearly all high voltage or high capacity caps were either buldging\leaking or had its plastic cover shrinking due to heating.

Signs of possible moisture on the PCB since this tv set was living in a kitchen all its life.
And this is over the high voltage area. Actually this was almost over
the whole mainboard and also on the CRT neck board as well. It had to be clean.
Bad solder joints. No wonder the owner complained that he could barely hear the audio from the tv. This is the amplifier IC chip which had nearly 50% of its solder joints broken. Actually this tv ended up being target of some physical violence in order to "play right" :)
No wonder there were a whole bunch of broken solder joints in other areas on the pcb as well. All that was repaired too.

None of this helped the tv work again, so i started checking the usual suspects. Turns out that a NPN fast switching transistor used for the horizontal deflection was shorted on two pins. In the picture on the left is the defective one, and on the right is the replacement. Time to apply the new one and test the tv again.
And the tv lives again hurray! But wait, what the...?
There are horizontal lines on top of the image, something was not right still.
So i decided to replace all the electrolytic capacitors inside this tv since nearly all of them showed signs of deteoration. If this was not the case i would try to replace the caps in the vertical deflection area only.
Here kitty kitty.

Lets have some fun..or not.

Look at that leak! A whole lot of them were like this. Nasty stuff.

Electrolyte stain on the component side of the pcb. It had to be clean before applying the new capacitor.

After cleaning result. What you may think that its still dirtyness is actually a small corrosion on the pcb caused by acidity.
Job done, all FORTY FIVE electrolytics were replaced. As you can see i removed the flyback transformer to avoid damaging it while replacing the capacitors since there was a lot of board flip-overs during the process!
Polyester cap also replaced!
New resistor in place.
Another new resistor replaced (red one). In fact all burned resistors were replaced.
And voilá, all this work was for nothing as the problem was still there! Well, it wasn't an unworthy work at all as i would have done either way.
At this point the problem was quite obvious, the vertical deflection chip must be defective. I decided to consult the staff at the ukvintage radio forum and after all the work i already had done the general opinion was quite unanimous. The vertical deflection chip had to be bad. Why the vertical chip? Well these lines you're seeing are a small remnant of probably less than an inch of the top of the image being folded over the screen area. Sometimes you could see the lines and a smal activity in them, and some other times you could see this shrink effect above.
Time to replace the defective TDA3653C vertical deflection chip and see how it goes. Bad chip on the left and new one on the right.
Hm. Seems that something went wrong. How annoying...Well after checking and rechecking my solder joints i could only assume i have got a defective chip. How often does this happen? 1/100 so does the store clerk say. I had to pay to get another one by the way.
And finally i got the image right with a second new vertical deflection chip.
Now this is definately more like it! The image is perfect now!
But i still had problems with the audio. This is a stereo TV and i could only get audio on one of the channels, and everytime i cranked up the volume the image would get distorted and audio would get all corrupted.
Even though it was quite evident that it should be the audio amplifier chip TDA7057AQ that was faulty, i decided to test each channel separately. The chip had to be changed and afterwards the audio was perfect and no problems with volume raising anymore!
But i wasn't still free of troubles with this TV. I tried the scart input and for some reason the image was all muddy. Hooking a computer to the tv generating a tv test pattern image made it clear that something was wrong.
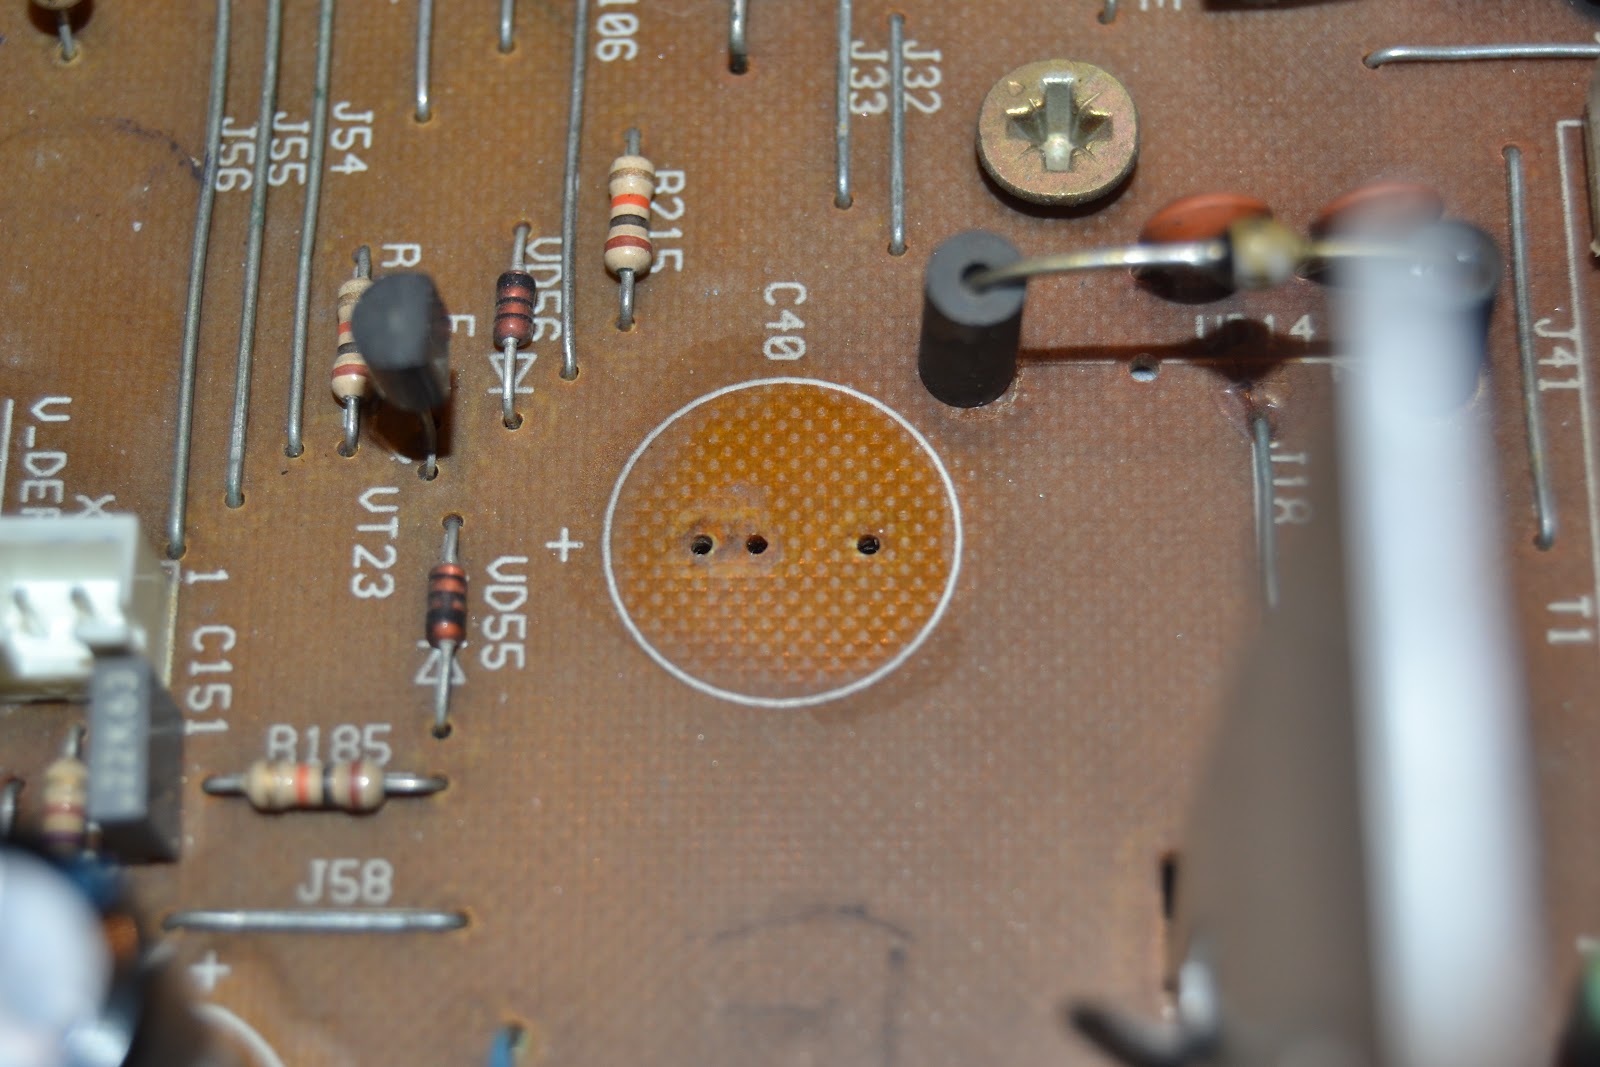
After further investigation on the schematics i was able to trace down the video input circuit. It went to the video processor chip and to the tv functions\teletext chip. I couldn't sort what was exactly faulty but i could only assume that it was some problem with the tv functions chip as when i disconnected the video input from it the image went completly clear and perfectly sharpen. I acomplished this by killing the shunt shown in the center of the image above. It wasn't worthy to replace this chip as the rest of it was perfectly operational and it would be really expensive to do it. The only lost functionality was the teletext through videoinput.

After doing so much, i decided i was going to do a final treat to this tv. I decided to wash the case. For that i removed the CRT, the speakers and a few metal parts.
The cat certainly enjoyed using it as it's new home! Sorry, no can do kitten, that isn't yours!

With everything done, clean and fixed it was time to do some cable managment and assemble the TV once and for all.
You might be thinking, was it worthy? Well money wise it was, it would cost you a whole fortune if you'd get it to a tech store to get it fixed, but if you do it yourself it is pretty much worthy. I didnt waste more than €30 on this, and trust me, i replaced a incredible number of parts to get it going and lasting.
For the trouble it gave me...well if i didn't take this so personal (like a personal exercise) it wouldn't be worthy at all, this took me way too much time and effort. Well, it works now and i hope the owner feels happy with it again, even though it's a completly outdated cheap crt TV :)
I hope you enjoyed it also!




 After doing so much, i decided i was going to do a final treat to this tv. I decided to wash the case. For that i removed the CRT, the speakers and a few metal parts.


